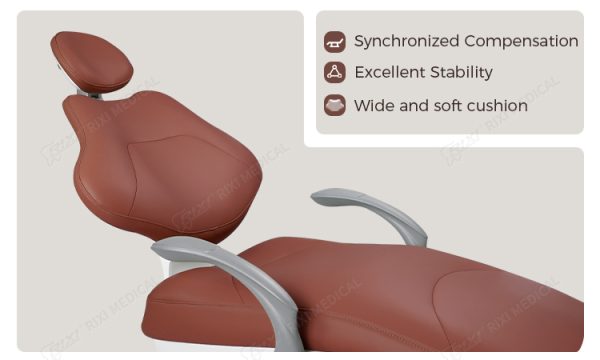
An integrated camera light can simplify an operatory only when its mechanical, electrical, video and file-handling interfaces are agreed before shipment. Buying it as “a light with a camera” leaves too many open questions: the arm may not match the chair, the video output may not match the display, or captured files may have no defined handover path. This checklist helps clinic owners, distributors and project buyers specify those interfaces before approving a dental chair camera light with 4K video output.
The scope here is integration and acceptance, not clinical photography technique. Local electrical, installation, privacy and record-handling requirements vary. Confirm the final configuration with the supplier and have qualified local personnel review installation and data-handling decisions.
Start with the four interfaces, not the headline resolution
A camera-light package crosses four systems at once: the support arm, the low-voltage supply, the image path and the operator controls. A specification sheet can describe each component without proving that the complete chain will work in a particular room. Put the proposed chair or ceiling interface, monitor input, cable route and storage method on one approval drawing.
| Interface | Evidence to request | Acceptance question |
|---|---|---|
| Mechanical | Mounting drawing, arm connection and load information | Does the supplied arm fit the approved support point and movement envelope? |
| Electrical | Input requirement, connector and wiring route | Is the specified supply available at the installation point? |
| Video | Output type, supported formats and display input | Can the selected monitor show the intended signal without an unapproved adapter chain? |
| Files and controls | Storage media, remote functions and sample-file procedure | Can staff capture, retrieve, review and transfer a test file consistently? |
For general arm, mounting and power questions, use the broader dental chair light compatibility guide. The present checklist begins after a buyer has chosen an integrated camera-light architecture and needs to prove the complete package.
Confirm model-specific lighting data in the quotation
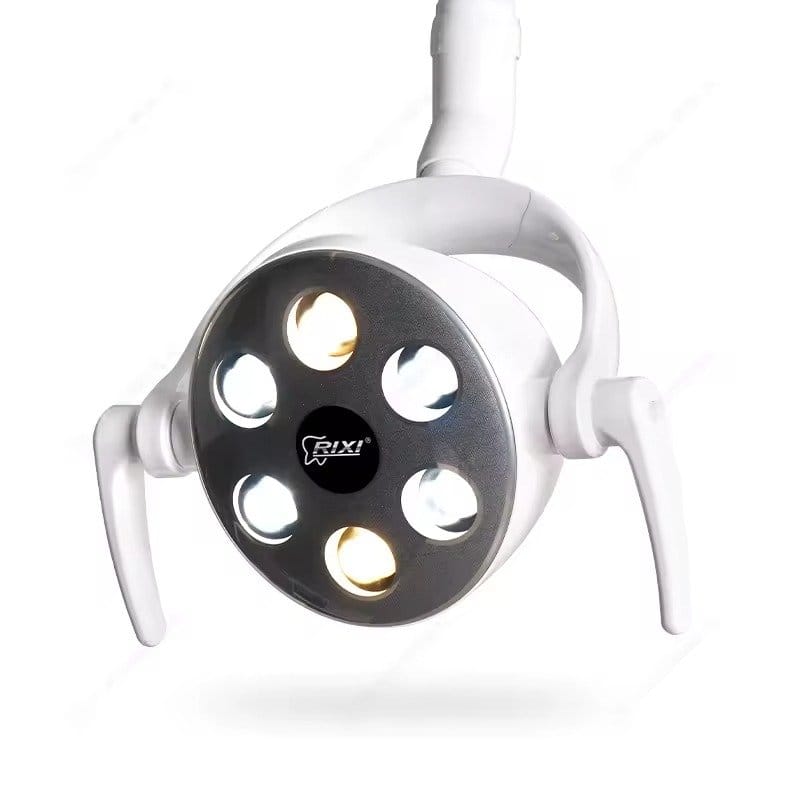
The current RIXI camera-light product page lists eight LEDs: four white and four yellow. It identifies cold, warm and mixed modes, a stated color-temperature range of 3000–6400 K and a color-rendering value of Ra ≥90. The listed illuminance ranges differ by mode: 8,000–35,000 lux for white light, 7,000–20,000 lux for yellow light and 8,000–45,000 lux in mixed mode. These are model-specific figures, not universal values for every dental lamp.
Ask the quotation to repeat the exact mode ranges and controls for the offered unit. Also confirm the stated 700 mm working distance and 70 × 150 mm spot size against the planned chair position. A buyer should not assume that the highest stated lux value describes every mode or every working position. During acceptance, check that each control changes the intended mode and that the light head remains stable through the working range.
Separate power compatibility from camera performance
The listed light input is AC 24 V (±10%), 50/60 Hz, with stated power consumption below 15 VA. That information is a starting point, not permission to connect the unit to any available chair circuit. Request the connector definition, wiring diagram, cable length, grounding or bonding instructions where applicable, and the allowed power source. The chair manufacturer or qualified installer should confirm that the support and supply are suitable for the exact configuration.
For a retrofit, document which existing parts remain and which are replaced. Photograph the proposed mounting point, identify the chair model and serial information, and record the route from the light head through the arm. The general dental chair accessory retrofit checklist provides a useful framework for these retained-component decisions.
Map the video path before ordering a display
The listed camera uses a 1/2.8-inch CMOS sensor with 8 MP effective pixels and HDMI output supporting 4K, 1080p and 720p formats. The product information also lists 10× optical zoom and automatic or push control for focus, gain and white balance. These specifications do not, by themselves, confirm that every monitor, recorder or capture device will accept every listed mode.
Create a simple signal-path record: camera output, cable type and length, any approved intermediate device, monitor input and selected format. If a display has several HDMI ports, identify the intended one. If the project uses a separate monitor arm, check its approved load and movement clearance with the dental chair monitor mount guide. Do not treat an adapter discovered during installation as equivalent to an approved design; it can change resolution, power needs and service responsibility.
Define local storage and file ownership
The model information states that a TF card can provide local storage up to 512 GB. Capacity alone does not define a usable workflow. The buyer should specify the card format, supported file types, naming behavior, removal method and the person responsible for transferring and deleting files. Request a sample photo and video from the actual configuration before a volume order when possible.
A receiving test should create a file, play it back, copy it to the agreed destination and confirm that another approved device can open it. Record the date, unit identity, selected video mode and storage media used for the test. If captured material will enter a clinic record system, the clinic’s authorized IT and privacy personnel should define that process. The supplier should not be asked to invent local record-retention or access rules.
Test the controls as an operating system
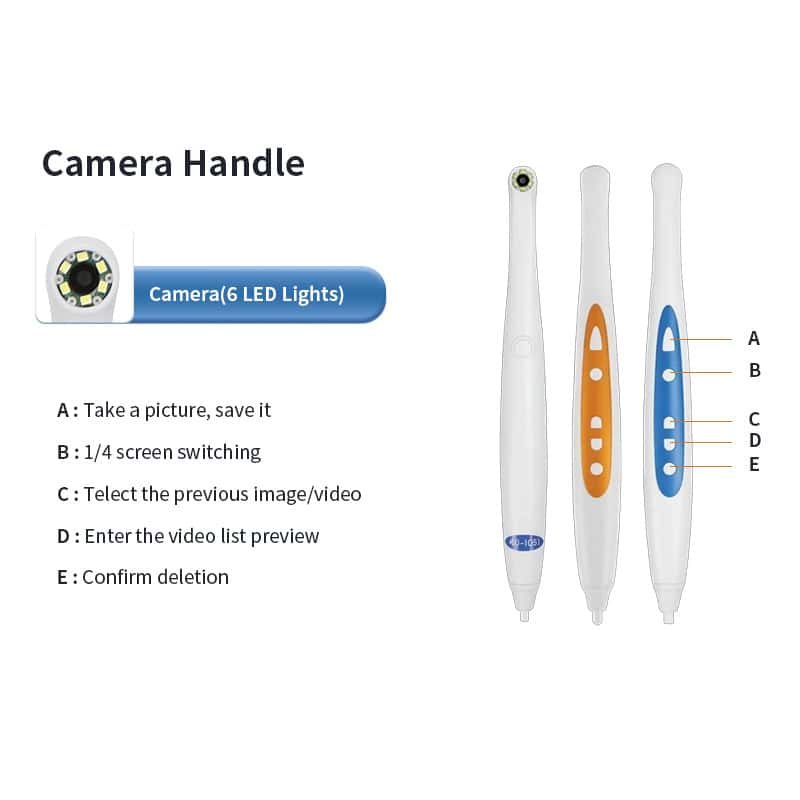
The camera-light documentation shows non-touch sensor control for the light and an infrared remote for camera functions. The remote labels include power, zoom, brightness, focus, photo, video, freeze, document view and source selection. Put the agreed remote version and button map in the order file. A replacement remote with a similar appearance may not provide the same functions.
During acceptance, test one function at a time and record the result. Confirm that the sensor operates at the intended distance without unwanted activation from normal arm movement. Test zoom in both directions, near and far focus, photo capture, video start and stop, freeze, source selection and file deletion. The goal is not to judge image quality from a brochure; it is to prove that the delivered controls match the approved configuration.
Use a staged receiving and commissioning checklist
- Before shipment: approve the model, arm and mounting interface, AC 24 V supply plan, HDMI path, storage method, remote layout and packing list.
- At receiving: match labels and quantities to the purchase record; inspect the light head, camera window, handles, arm parts, remote, cables and storage accessories for visible transport damage.
- Before installation: compare the supplied connectors and drawings with the approved chair or support point. Stop if an undocumented modification would be required.
- At power-up: check white, yellow and mixed light modes, brightness adjustment, sensor response and stable head positioning.
- Image-path test: display each agreed format, operate zoom and focus, capture one photo and one short video, then retrieve and open both files.
- Handover: retain the configuration record, wiring and mounting information, test results, accessory list and the responsible service contact.
This staged approach differs from a general intraoral camera receiving inspection. An overhead camera light adds the arm, lighting modes, chair or ceiling interface and combined cable route to the image checks.
Questions for a supplier before purchase
- Which arm and mounting interface are included, and what drawing identifies them?
- What AC 24 V connector, cable length and approved supply arrangement are required?
- Which HDMI formats are enabled on the quoted configuration, and what display was used for the sample?
- Is the TF card included, and which card type, capacity and file system are supported?
- Which remote version and sensor functions will be supplied?
- What packing photos, serial or model identification and pre-shipment function record can be provided?
RIXI Medical, a dental equipment manufacturer and supplier in Foshan, China, can provide model-specific specifications and mounting details for the quoted camera-light configuration. Buyers planning a clinic project or distributor order can request the relevant drawings and a documented interface checklist before confirming the package.
Frequently asked questions
Does a 4K camera-light output guarantee 4K images on every monitor?
No. The camera output, cable, any intermediate device and monitor input must all support the selected format. Confirm the complete signal path and test the exact configuration.
Can the camera light be added to any dental chair?
Compatibility depends on the mounting interface, support capacity, movement clearance, power supply and cable route. Request drawings and obtain confirmation for the specific chair or support structure before installation.
Is a 512 GB TF card automatically included?
The product information states support for TF-card storage up to 512 GB, but inclusion and the supported card specification should be confirmed in the quotation and packing list.
Need Dental Equipment Pricing or Configuration Details?
Contact RIXI Medical for model comparison, distributor pricing, packaging information, OEM/ODM requirements and after-sales support.
Request Product Information